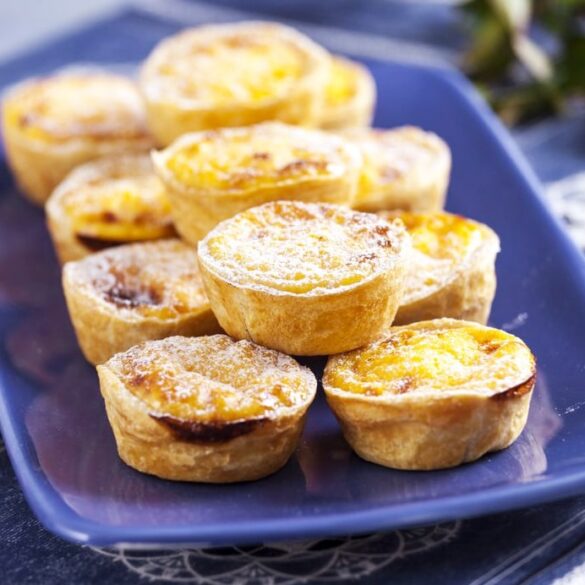
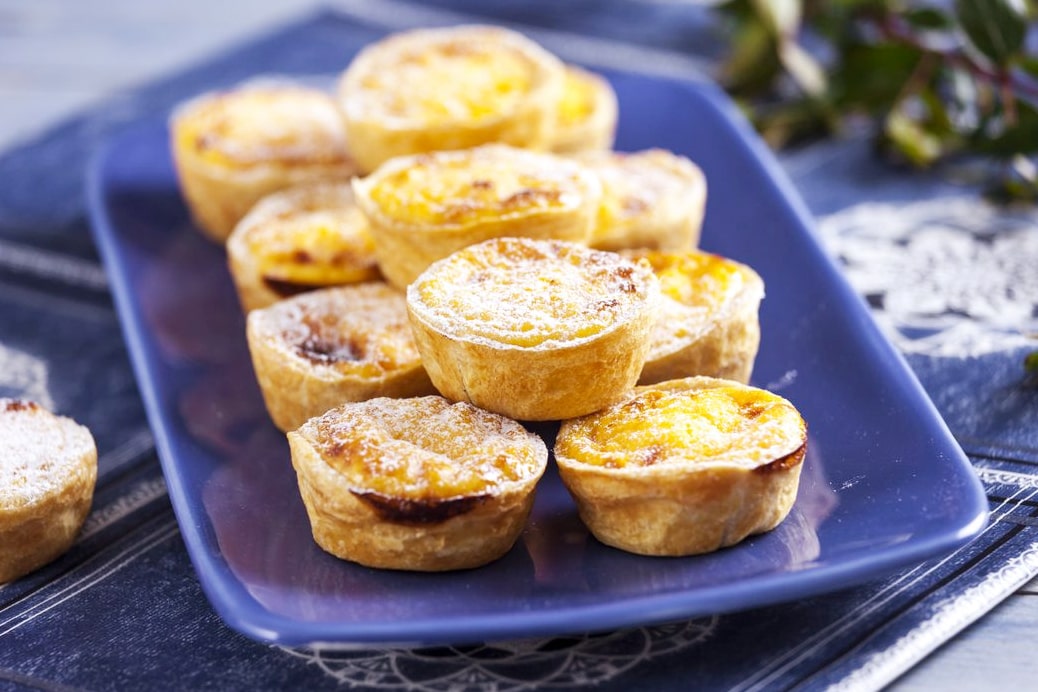
If you’re looking for a sweet and creamy dessert that’s perfect for any occasion, look no further than queijadas de nata. These traditional Portuguese tarts are made with a flaky puff pastry crust and filled with a rich and velvety custard that’s simply irresistible.
But what exactly are queijadas de nata, and where do they come from? These delightful tarts have a long history in Portugal, where they have been enjoyed for centuries. Made with simple ingredients like milk, sugar, eggs, and flour, queijadas de nata are a testament to the power of simplicity in cooking.
And the best part? They’re surprisingly easy to make at home. With just a few basic ingredients and some simple techniques, you can whip up a batch of these delicious tarts in no time. Whether you’re an experienced baker or just starting out, this recipe is sure to impress.
Queijadas de nata are a type of sweet pastry that originated in Portugal. They are most famously made in Sintra, a town near Lisbon, but can also be found in other regions of Portugal such as Madeira, Azores, Oeiras, Évora and Pereira (Montemor-o-Velho).
The history of queijadas can be traced back to the Middle Ages. According to official documents kept in the national archives of Torre do Tombo, queijadas were used to pay part of the rent of properties in the Sintra area as early as 1227, during the reign of Sancho II.
In this blog post, we’ll explore the world of queijadas de nata and show you how to make them at home. We’ll share our favorite recipe and give you tips for achieving the perfect crust and filling. We’ll also explore some creative flavor variations to try and delve into the history and tradition behind this beloved dessert.
So grab your apron and let’s get baking! Trust us, once you try queijadas de nata, you’ll be hooked.

Ingredients
- 14 ounces store-bought puff pastry
- 7 ounces granulated sugar
- 2.5 ounces all-purpose flour
- 1.7 cups whole milk
- 1.7 cups heavy cream
- 8 large egg yolks
Instructions
- On a lightly floured surface, roll out puff pastry. Brush with water and roll up tightly.
- Slice into rounds and press into small tart molds.
- Using damp fingers, gently press the dough to fit the molds and reach the edges.
- Prick the bottom of each tart shell with a fork and set aside.
- In a medium saucepan, bring milk and cream to a boil over medium heat.
- In a separate bowl, whisk together sugar and flour. Add egg yolks and beat until well combined.
- Gradually pour the milk mixture into the egg mixture, whisking constantly to combine.
- Return mixture to saucepan and cook over medium heat, stirring constantly, until thickened.
- Remove from heat and carefully spoon mixture into prepared tart shells.
- Bake in a preheated oven at 392°F until puff pastry is cooked through and golden brown, about 20 minutes.
- Remove from oven and let cool slightly before unmolding.
Notes
- Yes, you can certainly add other ingredients to this recipe to customize it to your taste. Some ideas could be adding a bit of vanilla extract or lemon zest to the filling for extra flavor.
- You could also try sprinkling the tops of the tarts with cinnamon or nutmeg before baking for a warm, spiced touch.
- Another idea could be to top the baked tarts with fresh fruit or a dollop of whipped cream. The possibilities are endless, so feel free to get creative and make this recipe your own!
- There are many different flavors you can add to this recipe to make it your own. Some ideas could be adding a bit of almond extract or orange zest to the filling for a subtle hint of flavor.
- You could also try mixing in some cocoa powder or melted chocolate for a rich chocolatey taste.
- Another idea could be to add some pureed fruit, such as raspberries or strawberries, to the filling for a fruity twist.
- You could also experiment with different spices, such as cardamom or ginger, to add warmth and depth of flavor.
- The original recipe calls for store-bought puff pastry, but you could also try using a homemade shortcrust pastry or even a sweet pie crust.
- You could also experiment with using phyllo dough or even a cookie crust for a different texture and flavor.
- Just keep in mind that the baking time and temperature may need to be adjusted depending on the type of pastry you use.


