Chebureki are crispy, juicy, and oh-so-satisfying. These delicious fried pastries are a popular street food in many countries and are perfect for a quick and tasty meal. In this blog post, we’ll show you how to make Chebureki at home with easy-to-follow instructions and mouth-watering photos.
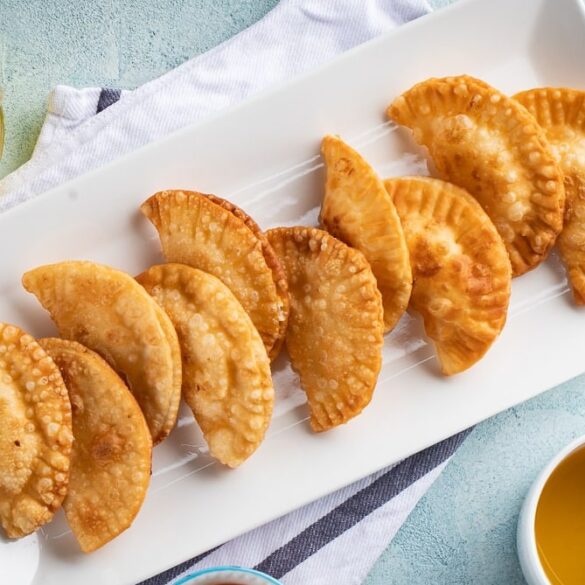
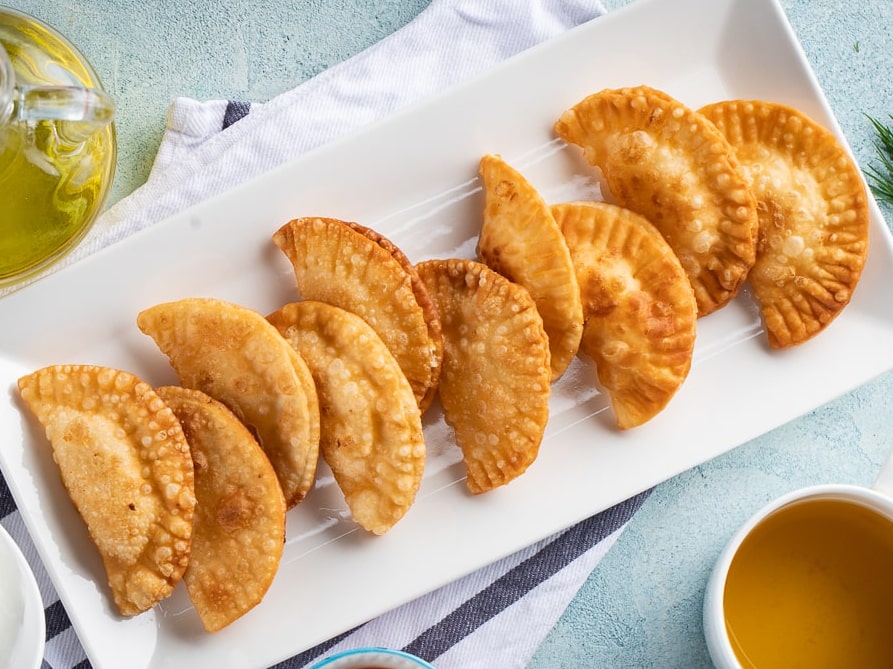
If you’re not familiar with Chebureki, let us introduce you to this amazing dish. Chebureki are large, half-moon shaped pastries that are filled with a variety of ingredients, usually ground meat and onions, and then fried until crispy and golden brown. The result is a pastry that’s crunchy on the outside and juicy on the inside, the perfect combination of textures and flavors.
One of the great things about Chebureki is their versatility. While the classic filling is made with ground meat and onions, you can also use other fillings such as mashed potatoes and cheese, spinach and feta cheese, sautéed mushrooms and onions, cooked and shredded chicken with vegetables, or ground pork with cabbage and spices. The possibilities are endless – you can get creative and experiment with different fillings to find your favorite combination.
Making Chebureki at home is easier than you might think. The dough is made from just a few simple ingredients: flour, salt, oil, and boiling water, and comes together quickly. Once the dough has rested for a bit, it’s easy to roll out and fill with your favorite filling. Then it’s just a matter of frying the Chebureki until they’re crispy and golden brown.
In this blog post, we’ll walk you through the process of making Chebureki step-by-step. We’ll show you how to make the dough, how to fill and seal the pastries, and how to fry them to perfection. We’ll also share some tips for serving Chebureki – including some delicious sauce and dip ideas.
So if you’re ready to learn how to make delicious Chebureki at home, let’s get started!

Ingredients
- For the dough:
- 4 cups flour
- 1 tsp salt
- 3 tbsp vegetable oil
- 2/3 cup boiling water
- For the filling:
- 1 lb ground beef or lamb
- 2 onions, finely chopped
- Salt and pepper to taste
- A handful of chopped fresh herbs (optional)
Instructions
- Start by making the dough. In a large bowl, mix together the flour, salt and oil. Slowly pour in the boiling water while stirring constantly. Use your hands to knead the dough until it’s smooth and elastic. Cover it with plastic wrap or a towel and let it rest at room temperature for about 30 minutes.
- While the dough is resting, make the filling. In a separate bowl, mix together the ground meat, chopped onions, salt and pepper. You can also add some chopped fresh herbs if you like.
- Once the dough has rested, divide it into small balls (about the size of a golf ball). On a floured surface, roll out each ball into a thin circle.
- Place a spoonful of filling on one half of each dough circle. Fold the other half over the filling and press the edges together to seal.
- Heat some oil in a frying pan over medium heat. Fry the chebureki until they are golden brown on both sides.
- Serve hot with your favorite sauce or dip.
Notes
- Chebureki can be filled with a variety of ingredients. While the classic filling is made with ground meat and onions, you can also use other fillings such as:
- Mashed potatoes and cheese
- Spinach and feta cheese
- Sautéed mushrooms and onions
- Cooked and shredded chicken with vegetables
- Ground pork with cabbage and spices
- You can get creative and experiment with different fillings to find your favorite combination.
- You can bake Chebureki instead of frying them. To do this, preheat your oven to 400°F (200°C) and line a baking sheet with parchment paper. Place the filled and sealed Chebureki on the baking sheet and brush them with a beaten egg or some oil. Bake for 20-25 minutes or until they are golden brown.
- Baking Chebureki is a healthier alternative to frying and can also be more convenient if you’re making a large batch. However, keep in mind that the texture will be slightly different – baked Chebureki will be crispy but not as juicy as fried ones.
- Chebureki can be served with a variety of sauces or dips. Some popular options include:
- Sour cream or Greek yogurt
- Tomato sauce or ketchup
- Garlic sauce or aioli
- Tzatziki sauce
- Hot sauce or sriracha
- You can also serve Chebureki with a simple squeeze of lemon juice or a sprinkle of vinegar for some added tanginess. The choice of sauce or dip will depend on your personal taste and the filling you used for the Chebureki.
- You can freeze Chebureki for later. To do this, place the uncooked Chebureki on a baking sheet lined with parchment paper, making sure they are not touching each other. Put the baking sheet in the freezer and freeze until the Chebureki are solid. Once they are frozen, you can transfer them to a freezer bag or container for storage.
- When you’re ready to cook the frozen Chebureki, you can fry or bake them straight from the freezer – there’s no need to thaw them first. Just keep in mind that the cooking time may be slightly longer for frozen Chebureki.
- Freezing Chebureki is a great way to have a quick and satisfying meal on hand for busy days.
- Frozen Chebureki can be stored in the freezer for up to 3 months. After this time, they may still be safe to eat but the quality may start to deteriorate.
- To ensure that your frozen Chebureki stay fresh for as long as possible, make sure to store them in an airtight container or freezer bag and try to minimize their exposure to air. It’s also a good idea to label the container or bag with the date of freezing so you can keep track of how long they’ve been stored.
- When you’re ready to cook the frozen Chebureki, you can fry or bake them straight from the freezer – there’s no need to thaw them first.


